 |
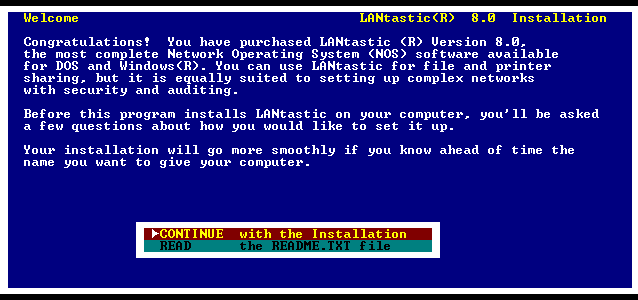
Welcome Screen - Select
"CONTINUE with the installation".
|
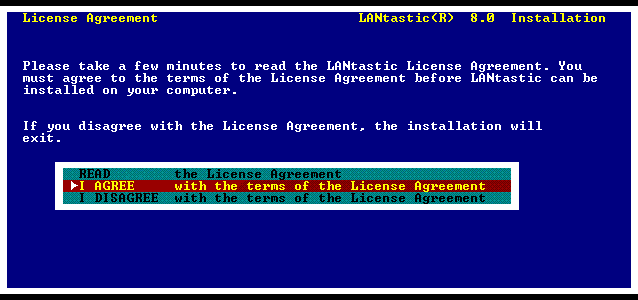 |
License Agreement - You wont be able
to install LANtastic unless you select "I AGREE".
|
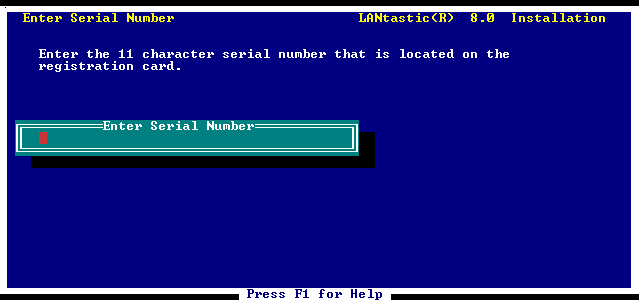 |
Enter your LANtastic Serial Number - You
will also be prompted for the matching license key.
|
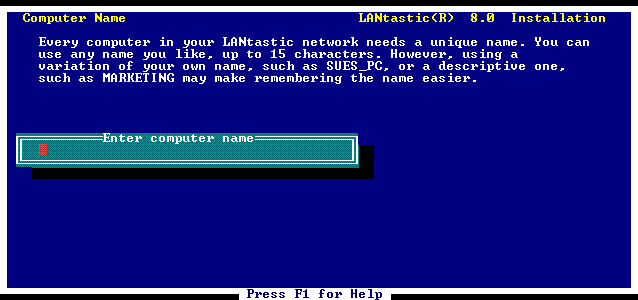 |
Computer Name - Enter a Unique name up
to 15 characters long.
|
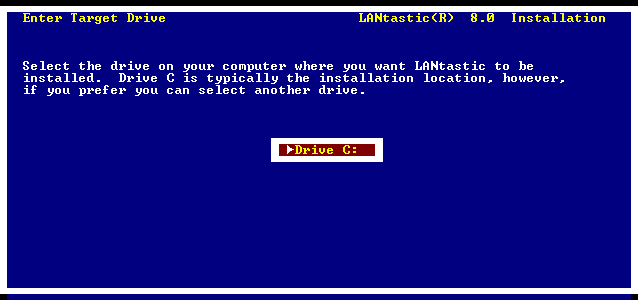 |
Enter Target Drive - The default is Drive
C:
|
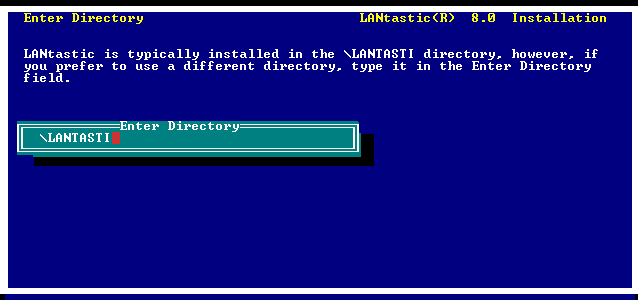 |
Enter Installation Directory - The default
is "\LANTASTI".
|
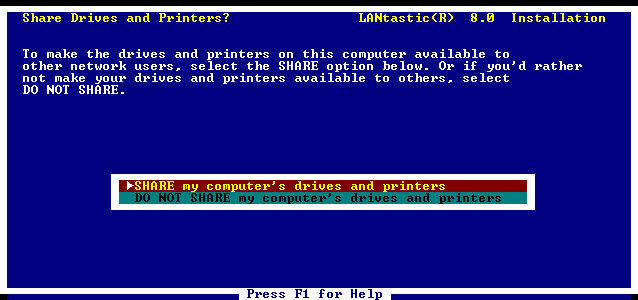 |
Share Drives and Printers? - Select weather
you want to allow drives/printers on this computer
to be shared.
If you select DO NOT SHARE, then this computer becomes
a LANtastic workstation (client). As such, youll
still be able
to use the shared resources on other network computers
(servers).
|
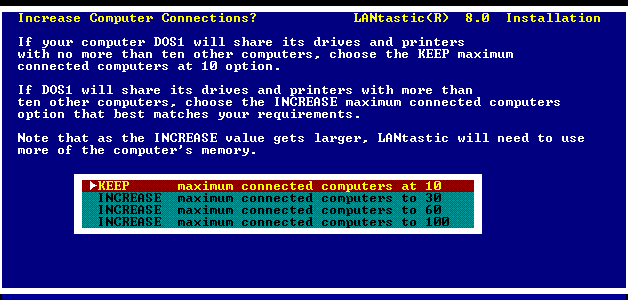 |
Increase Computer Connections? - set maximum
computers that can share resources on this computer.
This screen will only be shown if you selected to
SHARE your computer's files and printers.
|
 |
|
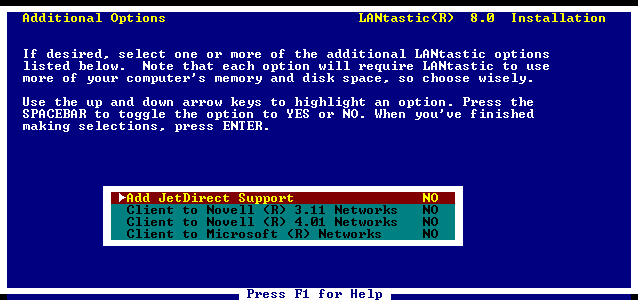
Additional Options - This allows the following
options:
Add Jetdirect printer support
Client for Novell 3.11 Networks (Using NCP)
Client for Novell 4.0 Networks (Using NCP)
Client for Microsoft Networks (Using SMB
1.0)
The Add JetDirect Support option lets you
share an HP JetDirect printer thats on your network.
The Client to Novell options allow you
to connect to and use Novell servers.
The Client to Microsoft Networks option
allow you to connect to and use servers that support
Server Message Block (SMB) 1.0. This includes
Windows NT4 / 2000 Server, LAN Manager, Windows
for Workgroups, and Samba (for Linux or Unix).
Samba is the only secure SMB 1.0 and CIFS compatible
network server which is activly being developed
and supported. Samba is open source freeware,
and works seemlessly to allow LANtastic DOS Clients
as well as modern Windows Clients to access shared
files and printer services. For more information,
visit https://samba.org
Note: Client to Microsoft Networks is not
required to connect to PC's running LANtastic
8.01 for Windows, or to allow those PC's to connect
to a LANtastic for DOS Server. It is only required
to connect to an SMB compatible server.
|
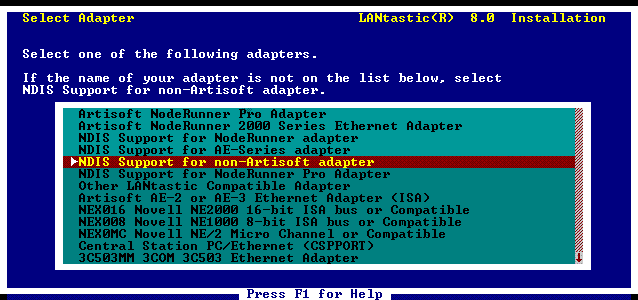 |
Select Adapter - For most Network Adapter
Cards, choose "NDIS Support for non-Artisoft adapters".
|
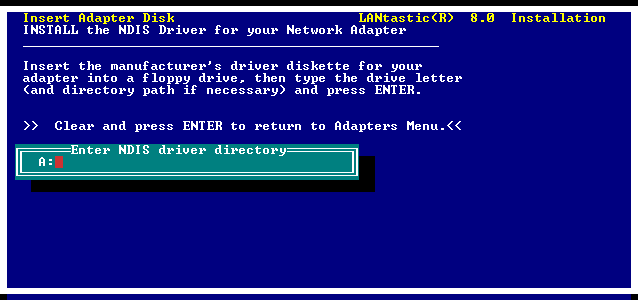 |
Insert Adapter Disk - Type "A" followd
by the Colon character and press [Enter] for a foppy
drive, or type other path
to the the NDIS drivers for your Network Adapter.
You can find NDIS Drivers for many brands of network
cards
Here.
Otherwise you can find NDIS drivers from the Network
Adaptors Company web site, or contact us for assistance.
|
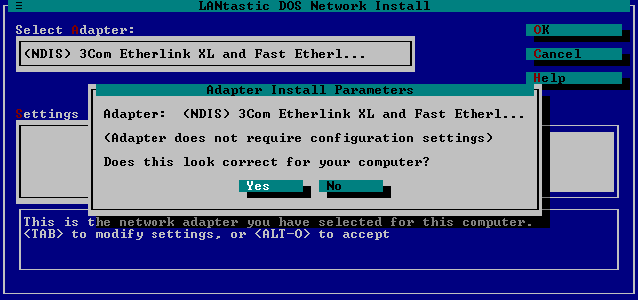 |
Adapter Install Parameters - Most PCI
card NDIS adapters do not require configuration
settings, in which case you can
just press [Enter].
|
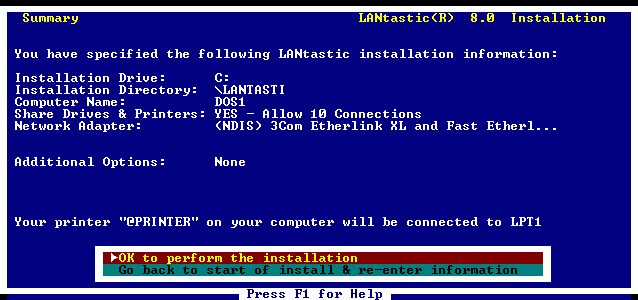 |
Summery - Review your settings before
performing the installation. If the specifications
are acceptable, select OK [Enter].
If you need to make changes to one or more of your
specifications, select the Go Back option. Setup
remembers your
previous selections, so accept the defaults for
each screen until you reach the one(s) that you
want to change. Make the
correction(s), then continue to accept the defaults
until you reach the Summary screen. Select OK to
perform installation.
|
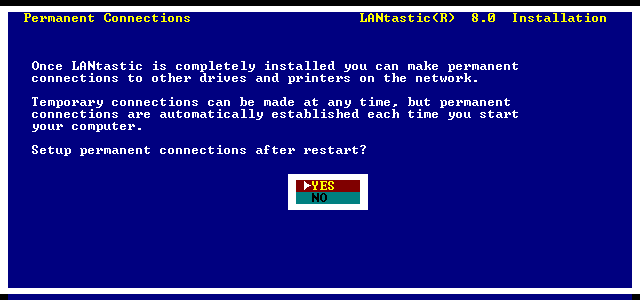 |
Permanent Connections - Do you want to
setup them up after DOS reboots?
If you want to be able to make permanent connections
immediately after Setup restarts your computer,
press Enter to
select Yes. If you prefer to make your connections
later, select No .
Note: If you dont choose to make permanent connections
during Setup you can make them any time from Permanent
Connections Management in the LANtastic NET menu.
|
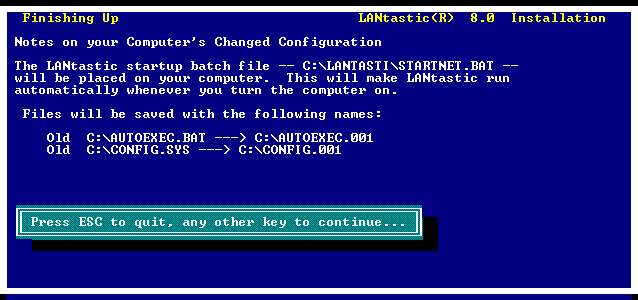 |
Finishing Up - Displays changed and backed
configuration files.
Review the information regarding your system files,
then press any key to continue or press Esc if you
want to cancel
the installation.
|
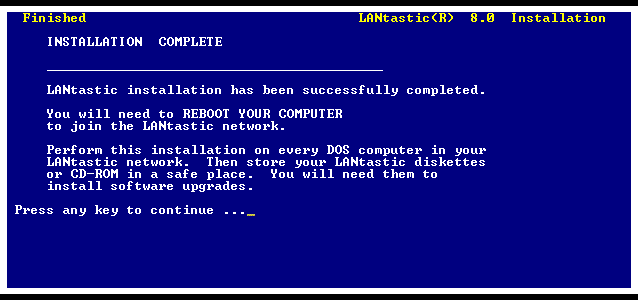 |
Finished - Remove any disks from the floppy
drive, then press any key to continue.
When you press any key to contune, Setup will reboot
DOS and activate LANtastic.
To exit Setup without rebooting, press Esc.
Note: You must reboot DOS before you can begin using
LANtastic.
For the Full LANtastic Installation documentation,
go to the LANtastic User's Guides.
|